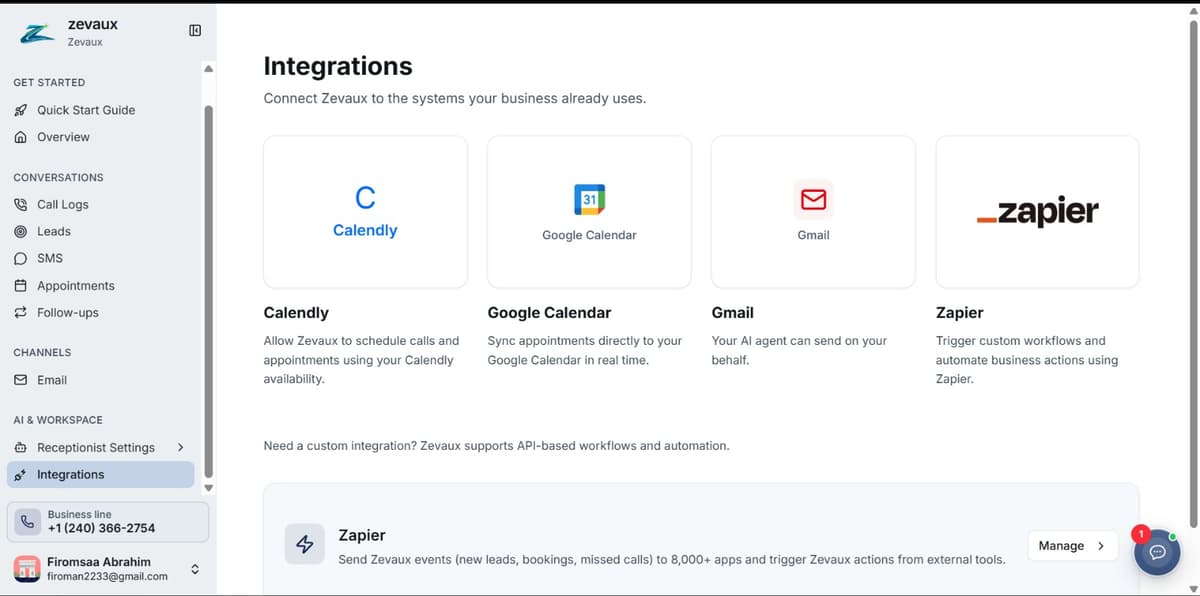
Zapier connects Zevaux to 6,000+ other apps so you can pipe new leads, calls, appointments, and inbound SMS straight into your CRM, spreadsheet, or messaging tool, and push contacts or follow-ups into Zevaux from any external workflow. The full setup takes about five minutes.
Before you start
You'll need an active Zevaux account on any paid plan and a Zapier account (free tier works fine).
For the full API reference (every trigger field, request body, error shape, and webhook signing), see [/docs/zapier](/docs/zapier).
Step 1: Generate your Zevaux API key
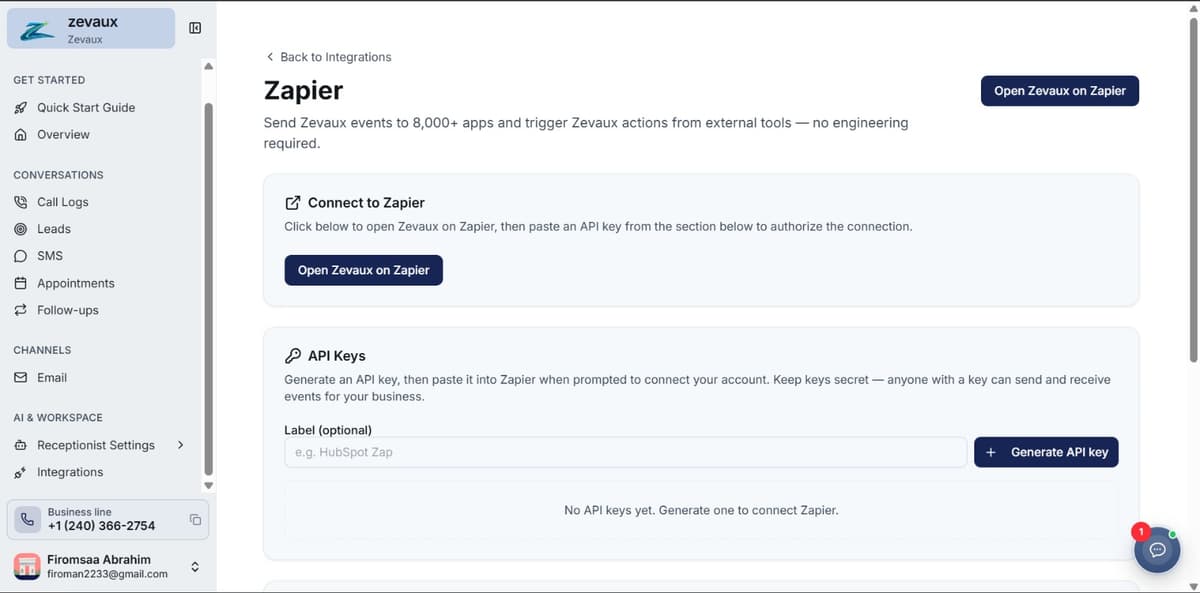
- 1Open Integrations → Zapier in your dashboard.
- 2Click Generate API key and give it a label (e.g.
Zapier production). - 3Copy the key the moment it appears. It starts with
zev_and is shown only once. - 4Paste it somewhere safe for the next step.
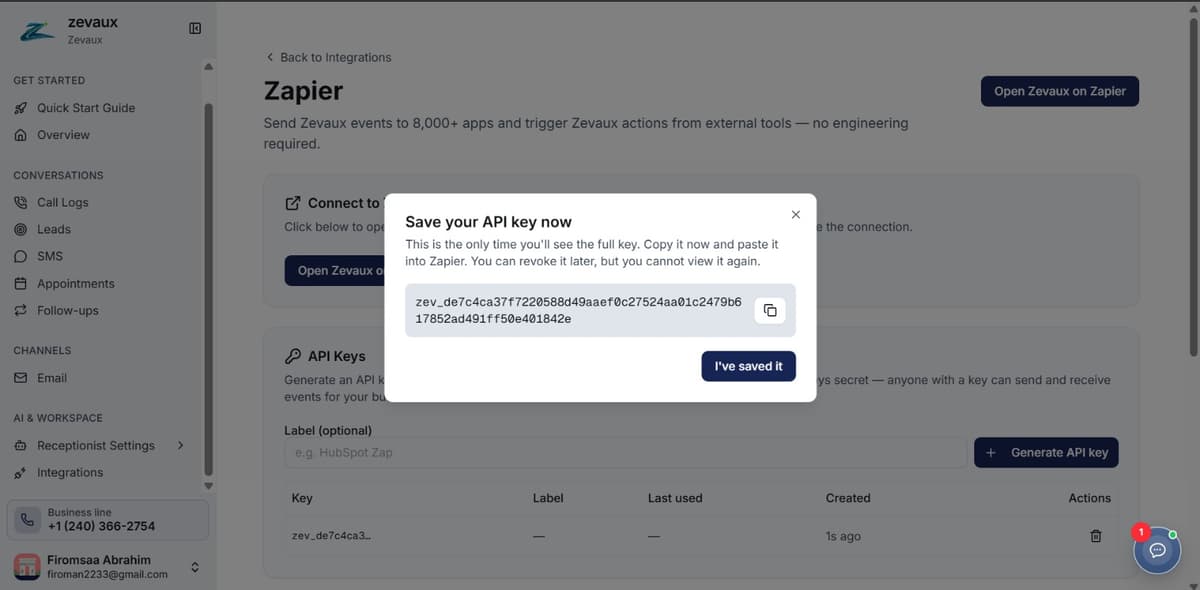
Treat the key like a password. If you ever lose it or suspect it's been shared, revoke it from the same Integrations page and generate a new one. Revocation takes effect immediately.
Step 2: Connect Zevaux on Zapier
Since Zevaux is currently in invite-only preview on Zapier, click Open Zevaux on Zapier from the Integrations page to accept the invite, or use the link your account manager sent you.
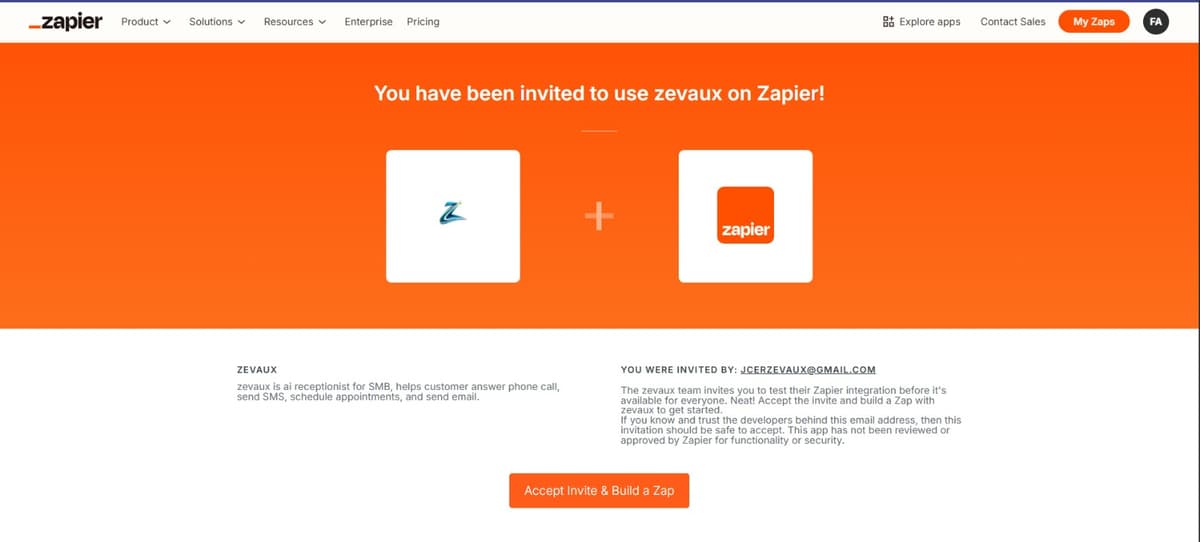
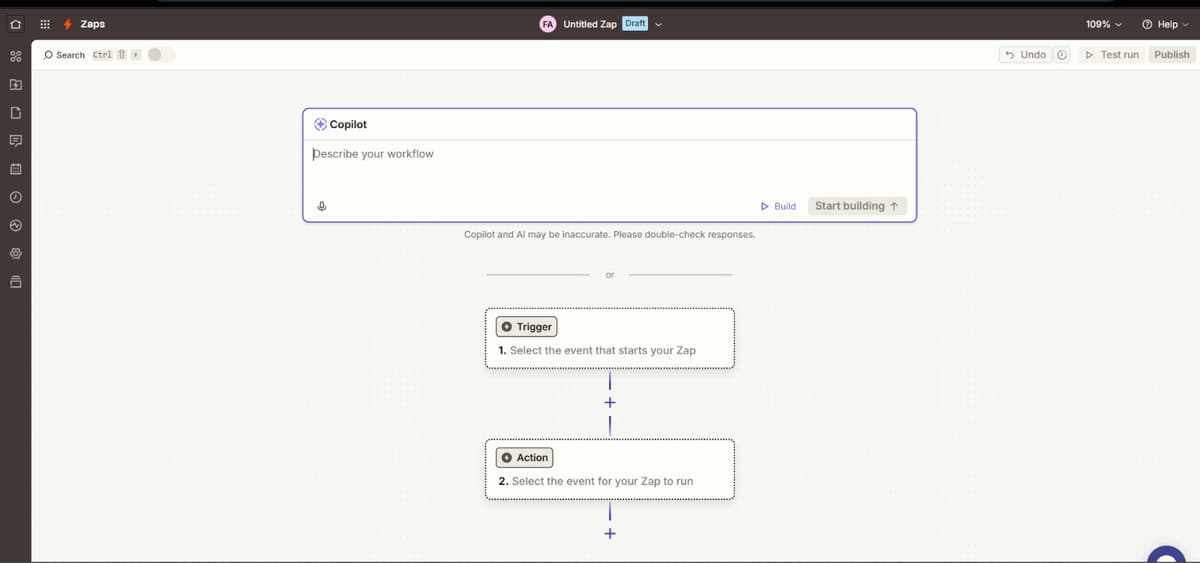
- 1Sign in to Zapier and click Create → New Zap.
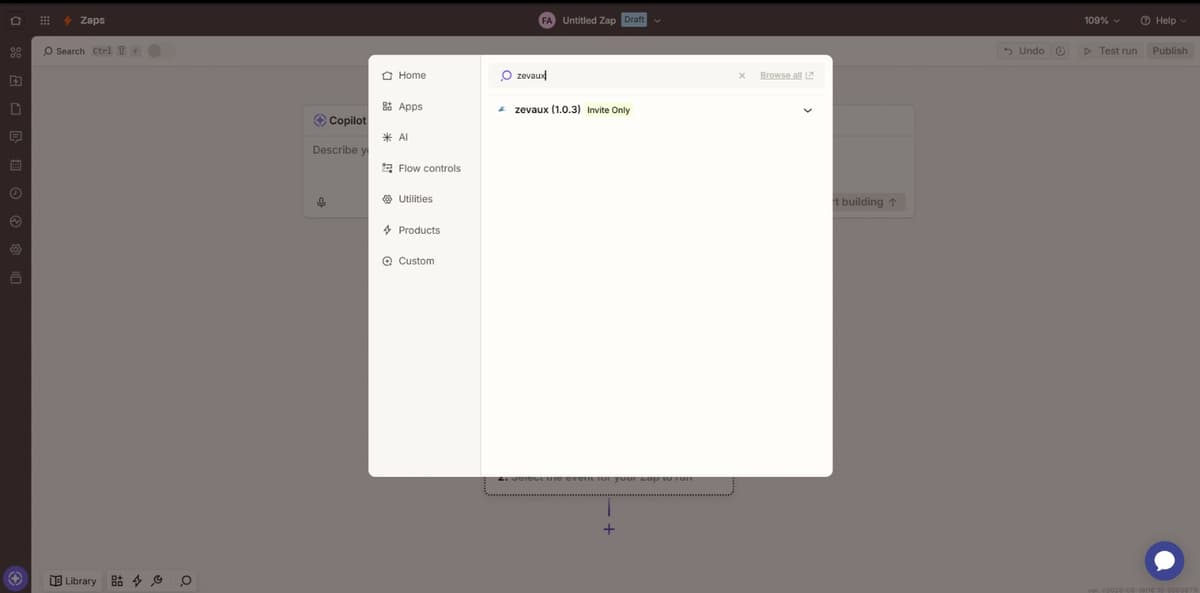
- 2In the trigger app picker, search for Zevaux and select it.
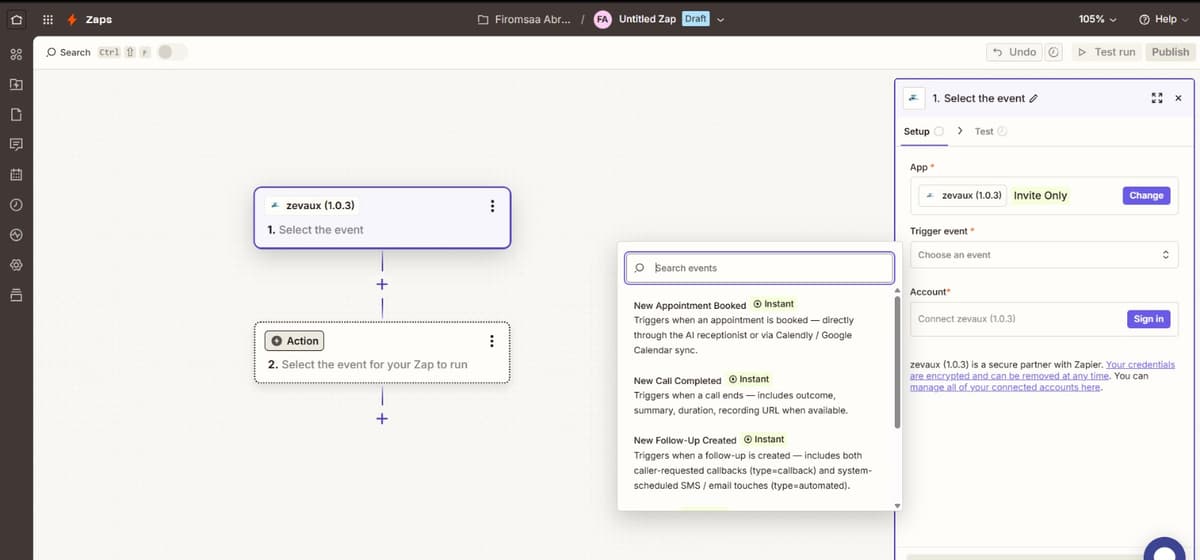
- 3Pick the trigger you want (for example, New Follow-Up Created).
- 4Click Connect a new account when Zapier asks for your Zevaux account.
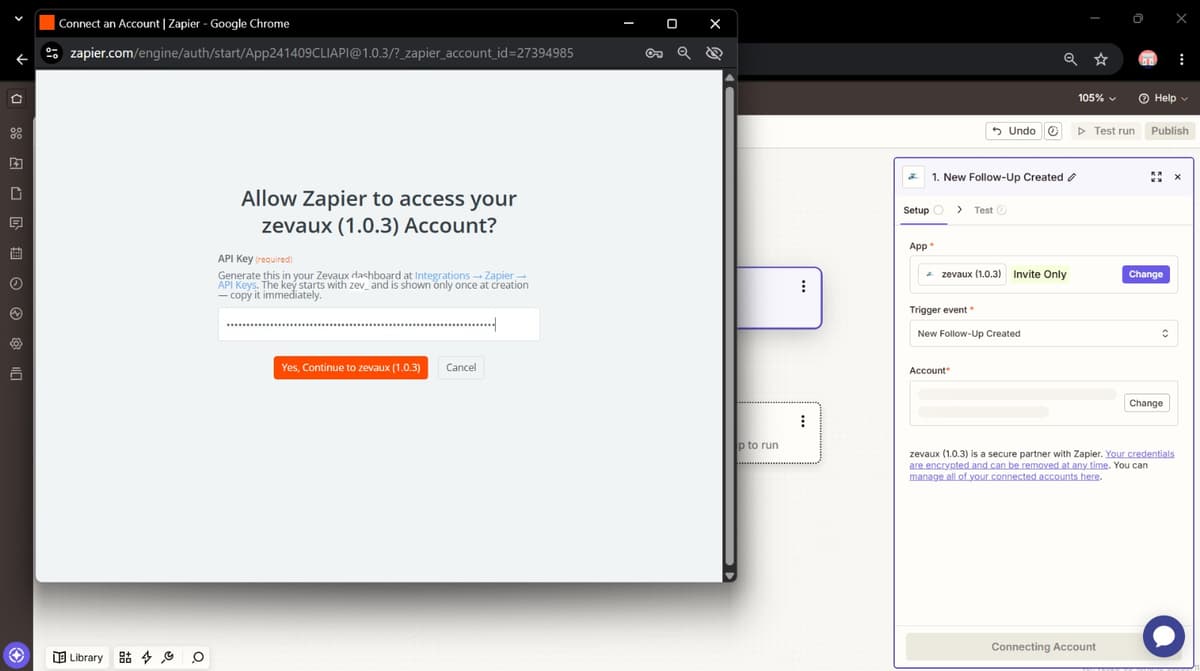
- 5Paste the
zev_API key you copied in Step 1. Zapier validates it and shows your business name as the connection label.
Reuse the same connection across all your Zaps. That keeps the Integrations page clean and makes it easy to revoke access to every Zap at once by revoking a single key.
Step 3: Build and turn on your first Zap
- 1Click Test trigger: Zapier loads a recent real event from your Zevaux business (or a sample if you have no data yet).
- 2Add an action step (email, Slack, Google Sheets, your CRM, or anything in Zapier's directory).
- 3Map the fields you want from the trigger output into the action.
- 4Click Publish at the top right, then toggle the Zap On.
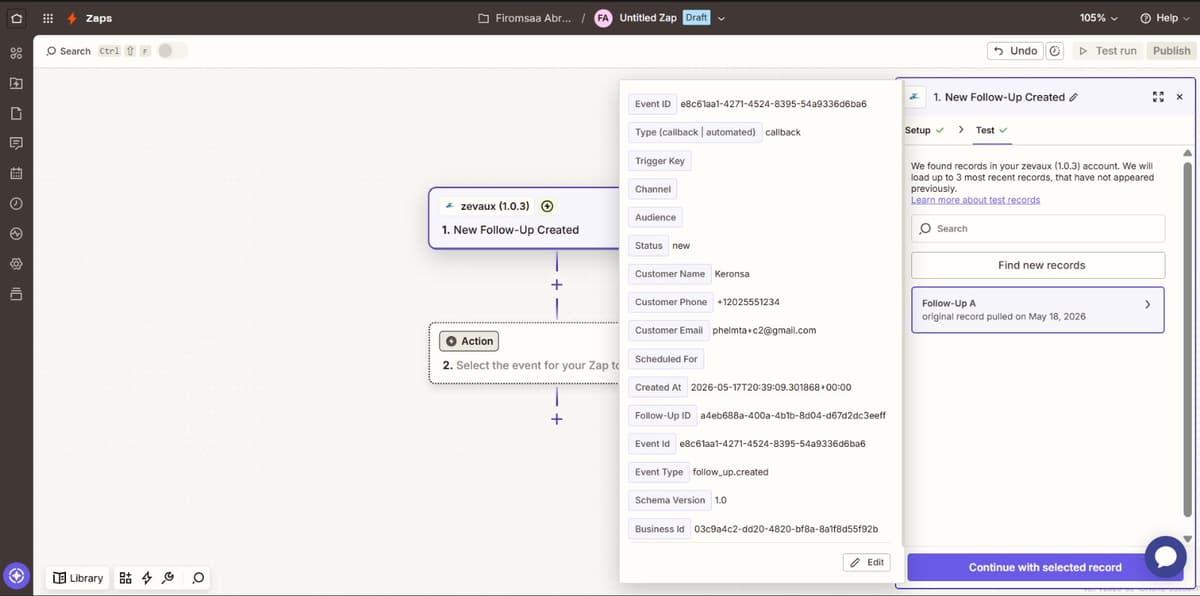
Testing inside the editor does not subscribe to live events. The Zap must be published and turned on before Zevaux will deliver real-time webhooks to it.
Step 4: Verify it fires end-to-end
- 1Trigger a real event (e.g. place a test call to your Zevaux number for the New Lead trigger).
- 2Wait about 30 seconds for the event to propagate.
- 3Check Zap History in Zapier for a green Success badge on the run.
- 4On the Zevaux side, open Integrations → Zapier → Recent Deliveries and confirm the matching row shows
status=deliveredand a 200 response.
If Recent Deliveries shows delivered + 200 but Zap History has no run, the issue is in your Zap's action step (mapping or external API), not in Zevaux. If Recent Deliveries shows no row at all, the event didn't fire. Check that your business config has the relevant feature enabled (e.g. Lead Capture toggle for the New Lead trigger).
Open in dashboard
Was this article helpful?
Your feedback helps us improve our docs.
Related articles
What triggers and actions does Zevaux support on Zapier?
Five real-time triggers (lead, appointment, call, follow-up, SMS) and two actions (create contact, create follow-up). Send SMS arrives in a future release.
My Zap isn't firing, what should I check?
Most failures are one of three things: the Zap isn't actually on, the connection key was revoked, or the event genuinely didn't fire in Zevaux. Recent Deliveries tells you which one.